You load your wet laundry, press start, and hear the familiar hum of the motor… but the drum isn't turning. A broken or slipped tumble dryer belt is a common issue. This essential part can wear out over time, but the good news is that replacing it is a straightforward DIY job that can save you the cost of a professional repair call. This guide will walk you through the entire process.

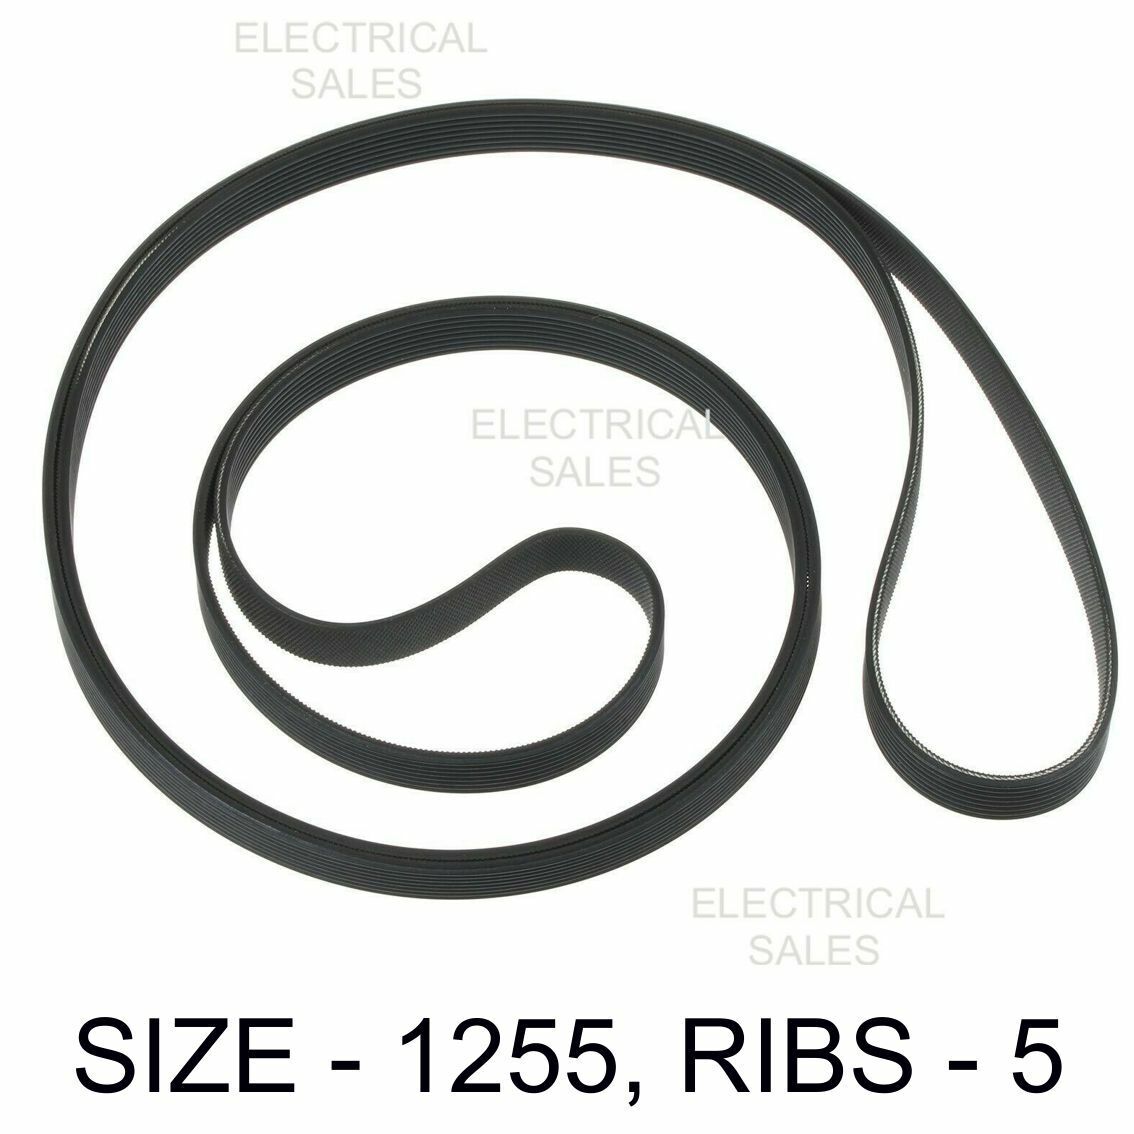
Tumble Dryer and Washing Machine Drive Belts
Keep your appliances running smoothly with our durable tumble dryer and washing machine drive belts
Product information
$13.44
Product Review Score
4.31 out of 5 stars
211 reviewsProduct links
Quick Answer: How to Replace a Tumble Dryer Belt
Replacing a tumble dryer belt involves removing the dryer panel, releasing the broken belt, fitting a new belt around the drum, and reassembling the appliance. Always disconnect power before starting any repair.
- Disconnect power supply
- Remove dryer access panel
- Release and remove damaged belt
- Fit replacement belt around drum and motor pulley
- Reassemble dryer and test operation
How Do I Know if My Tumble Dryer Belt is Broken?
Before you start, let's confirm the belt is the issue. Here are the classic symptoms:
-
The motor makes a sound, but the drum doesn't spin.
-
You can turn the drum easily by hand with no resistance at all.
-
You may have heard a loud "snap" or "thud" during the last cycle.
-
You might find pieces of black rubber from the old belt inside the drum.
If you're experiencing these signs, it's almost certain you need a new belt.
Before You Begin: Safety and Tools
Safety First! Before you do anything else, you must unplug the tumble dryer from the wall socket. Never work on an appliance that is connected to a power source.
You will need:
-
A set of screwdrivers (usually Phillips head).
-
Your new replacement belt.
Make sure you have the correct belt for your dryer's make and model. Need a new belt? You can find a wide selection of replacement tumble dryer belts right here.

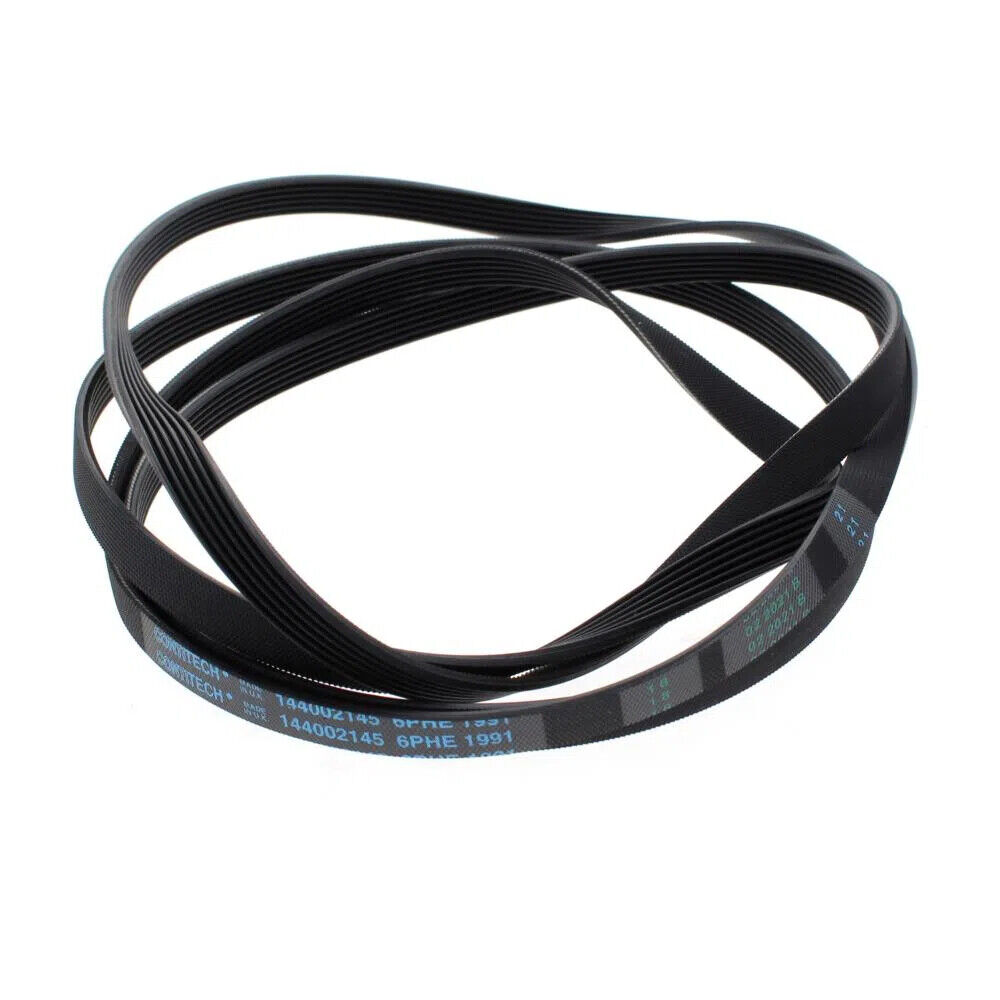
Tumble Dryer Drive Belt Replacement for Major Brands
Get your tumble dryer running smoothly again with this easy-to-install drive belt replacement
Product information
$21.60
Product Review Score
4.57 out of 5 stars
222 reviewsProduct links
The Step-by-Step Replacement Guide
While designs vary, this general process applies to most standard tumble dryers.
Step 1: Access the Inside Panels You'll need to open the dryer's cabinet to get to the belt. This usually involves removing the top lid, which is often held in place by screws at the back. Once the top is off, you may need to remove the front or back panel to get a clear view of the drum and motor.
Step 2: Locate and Remove the Old Belt If the belt snapped, you will likely find it lying at the bottom of the machine or loosely wrapped around the drum. Simply pull it out and discard it. Take a moment to clean away any black rubber residue left behind on the drum or inside the cabinet.
Step 3: Loop the New Belt Around the Drum Take your new belt and slide it over the entire drum. It's often easiest to start from the front and slide it towards the middle. The grooved side of the belt should be facing inwards, against the drum's surface.
Step 4: Route the Belt Around the Motor and Tension Pulley This is the most important step. Look for the motor at the bottom of the machine. It will have a small metal spindle (the motor pulley). Next to it, there is usually a spring-loaded "tensioner" or "idler" pulley.
-
Reach underneath the drum and grab the belt.
-
Pull the belt down towards the motor.
-
Loop the belt around the motor pulley and the tensioner pulley. This usually creates an "S" shape that applies tension to the belt, keeping it tight. This tension is what allows the motor to grip the belt and turn the heavy drum.
Step 5: Test the Tension With the belt in place, slowly turn the drum by hand. You should now feel resistance, and you should see the belt turning the motor pulley. If it feels secure, you're ready to reassemble.
Reassembly and Final Test
Carefully screw all the panels back into place in the reverse order you removed them. Once the dryer is fully reassembled, you can plug it back into the wall. Run a short, empty cycle on a low heat setting to confirm the drum is spinning correctly and everything sounds normal.
Frequently Asked Questions
How do I know if my tumble dryer belt is broken?
A broken dryer belt often causes the drum to stop turning while the motor still runs. You may also hear unusual noises or notice clothes are not drying properly.
Can I replace a tumble dryer belt myself?
Yes, many tumble dryer belts can be replaced with basic tools and careful handling. Always follow manufacturer safety guidelines.
How long does it take to replace a dryer belt?
Most belt replacements take between 30 and 60 minutes depending on the dryer model and accessibility.

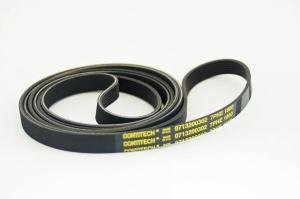
Hotpoint Tumble Dryer Belt for Various Models
Get your Hotpoint tumble dryer running smoothly again with this reliable replacement belt
Product information
Product Review Score
4.68 out of 5 stars
202 reviewsProduct links
Congratulations on your successful DIY repair! You've just saved time and money while extending the life of your appliance.